.webp)
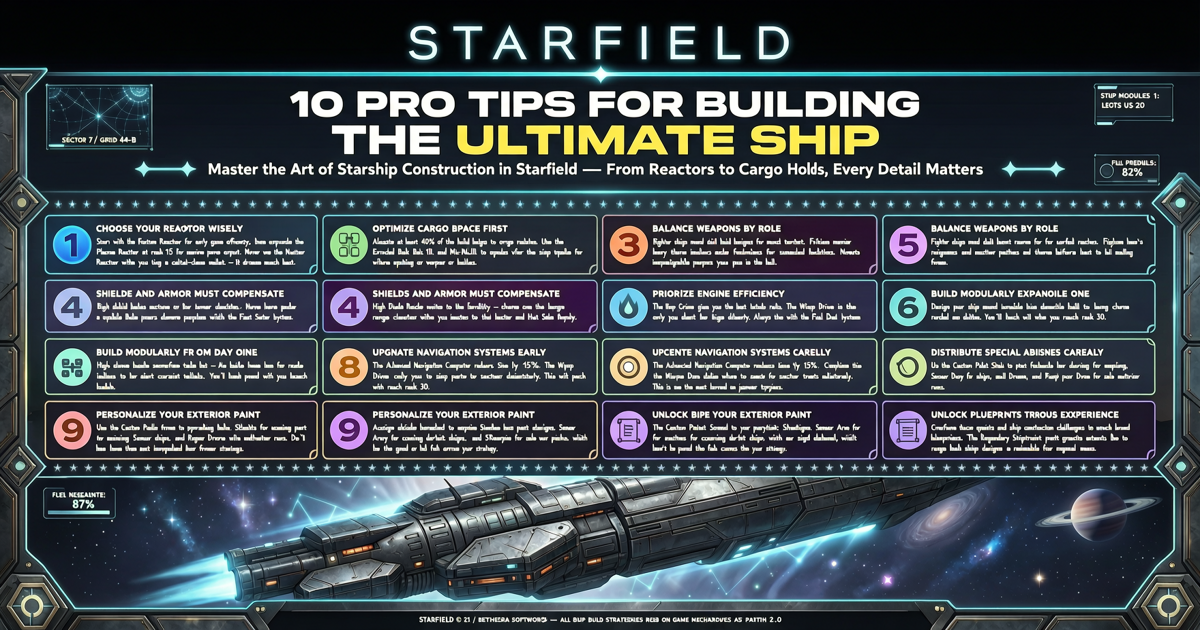
Starfield: 10 Pro Tips for Building the Ultimate Ship
1. Start with a Solid Core: The Reactor

Your ship's reactor determines its total power capacity. In the early game, you'll be limited to class A reactors, but as you level up your Starship Design skill, you can unlock class B and C reactors. Always prioritize a reactor with the highest power output for your current class—this allows you to equip more weapons, shields, and engines.
2. Choose Your Weapons Wisely

Weapons come in three varieties: ballistic, laser, and missile. A balanced loadout is key. Use lasers to shred shields and ballistics to damage hulls. Missiles are great for burst damage but have limited ammo. For mid-to-late game, consider pairing particle beams (which ignore shields) with a solid kinetic weapon.
3. Shield Efficiency Over Raw Numbers
Shield generators have a regeneration delay and rate. A shield with 600 HP but a 5-second delay might be less effective than one with 500 HP and a 2-second delay. Look for shields with high regeneration rates and low delay. The Vanguard Bulwark Shield is an excellent early option.
4. Engine Placement Matters
Engines dictate your mobility. Mounting them symmetrically improves turning speed. For combat-focused ships, choose engines with high maneuverability thrust (MT) over top speed. You want to out-turn your enemies, not outrun them.
5. Don't Overlook Grav Drives
Your grav drive determines jump range and recharge time. A heavier ship needs a more powerful grav drive. To explore the galaxy faster, invest in a grav drive with high max jump range. The Apollo GV260 is a solid mid-tier choice.
6. Cargo Space: Balance Quantity and Quality
Adding cargo holds increases mass, reducing mobility. Only add as much cargo as you need for your playstyle. Use cargo modules with high capacity per mass, like the Caravel V-100. Consider workshop habs to build research stations and weapon racks, saving your ship's inventory.
7. Habs: Function Over Form
Habs (habitation modules) provide crew stations, workshop benches, and passenger capacity. Prioritize habs that offer crew stations (for bonuses) and infirmaries (for healing). A Stroud-Eklund Workshop 2x1 is compact and versatile.
8. Use the Ship Builder's Alignment Tools
In the ship builder, press Left Bumper (or G on PC) to enable snap-to-grid. This ensures all modules line up perfectly, avoiding hideous gaps. Use the Select All function to move entire sections without rebuilding.
9. Crew Assignments Make a Difference
Crew members provide passive bonuses. Assign a naval officer to boost engines, a shield specialist for shield regen, and a weapons officer for increased dps. Your ship's performance will improve dramatically with the right crew.
10. Test and Iterate
After building, take your ship for a spin. If it handles poorly or loses dogfights, return to the builder. Save multiple versions of your ship. The Vanguard's Obliterator build is great for combat, but for cargo runs, a stripped-down design works better.
With these tips, you'll be crafting starships that can handle anything the Settled Systems throws at you. Happy building!